Red chile sauce is an essential ingredient to a wide variety of New Mexican foods. It doesn’t take that long to make and you can put it on everything. I did some research to figure out the best way to make it and this is the result. I love it so much.
Jump to RecipeRed Chile Sauce
I’ve been sitting on this one for a while. I created this red chile sauce over a year ago and then just never published it. I got busy with other things, but now it’s time.
Like most New Mexicans, I love chile. I mean, “Red or green?” is literally our state question. Growing up, I’d hear it almost every time I went out to eat.
For me, the answer is easy: “Christmas.” Red and green chile sauces are great on their own, but I like them even better together. The bright freshness of the green pairs perfectly with the deep smokiness of the red.
Unfortunately, you will struggle to find a good chile sauce outside of New Mexico. Trust me. I’ve looked. Some places have tasty chile. Others make ta sauce. I’ve found stuff so spicy that it set my mouth on fire and I’ve eaten incredible salsas. But nobody does “chile sauce” like New Mexico. So I make my own.
Using green chile is simple. I just throw a pile of it on top of whatever I’m cooking. Red, however, is a little trickier. You actually have to turn the dried pods into some sort of sauce.
As it turns out, there are actually a few methods for red chile sauce, so I decided to run some tests.
Essential Ingredients for Red Chile Sauce
Like any good food, the key to making a good red chile sauce starts with good ingredients. If your chile sucks, so will your sauce. So you need to start with good red chiles. I collect mine every time I visit New Mexico. I try to get the ones from the Chimayó, but Hatch also works. If you can’t find these, you can use whatever you have.
I’ll often use a mixture of Anaheim, Guajillo, and Thai chiles. They combine to create a great mix of flavor and heat. I used this quite a few times while living in Arizona.
Other than the chiles, it doesn’t matter what you put into your sauce. You could make a sauce just chiles and water, but it’s a little boring. So I add onion and garlic as aromatics. Then I boost the flavor with salt, pepper, cumin, oregano, and bay leaves.
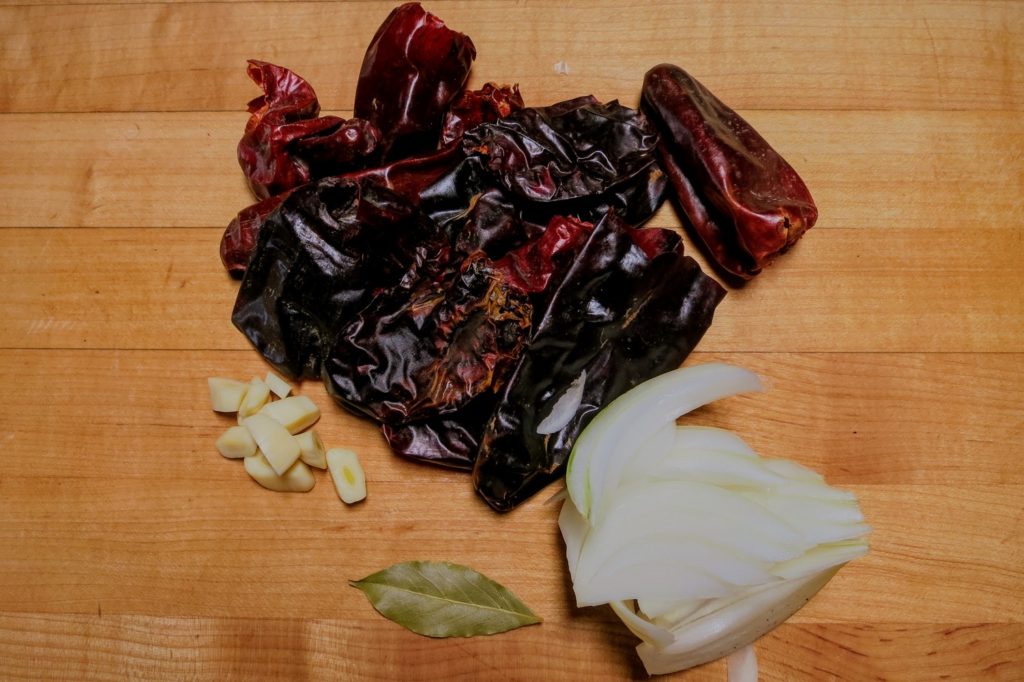
I’ll discuss some optional ingredients later, but those are the essentials to a great red chile sauce.
Method for Red Chile Sauce
There are two primary methods for red chile sauce. You can soak the chiles in hot water or boil them on the stove.
Soaked Red Chile Sauce
For the soaking method, you just pour hot water over all the ingredients.
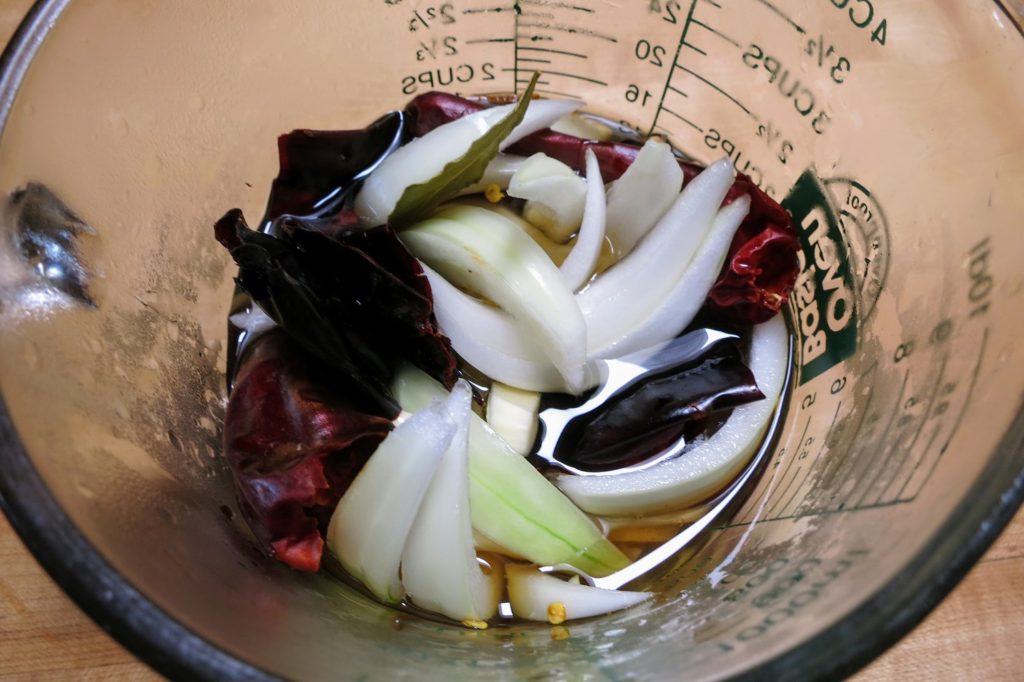
The main advantage of this method is simplicity. I’ve used this method and then left my house for a couple hours. When I came back, the chiles were completely ready for the next step.
You just put the ingredients in a large container and boil some water. Then you pour the water over the ingredients and let it soak for at least 20 minutes. That’s it. You can even do this in the blender. That means you only have one thing to wash.
This is probably the method I use the most. The fact that I can start it soaking before work and blend it quickly when I get home is a huge bonus for me. I’ll use any tactic I can to fit cooking into my life.
Boiled Red Chile Sauce
Although soaking is simpler, boiling provides a bit more flavor. It’s not even that much more work. You just bring water to a boil, add the ingredients, and reduce the heat to a bare simmer. It’s basically the same as the soaking method. But you do have to be present the whole time.
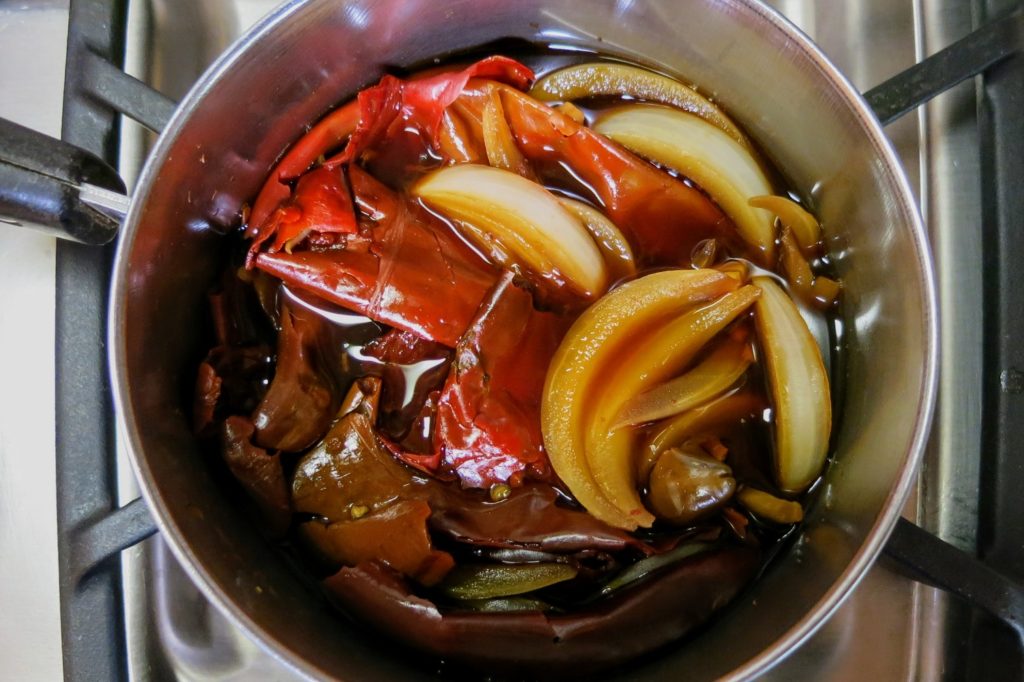
Once you get everything to a simmer, just cover it with a lid and cook for 15-20 minutes.
As I said, there’s nothing hard about this method, it just requires you to be present. You can’t leave your house or get distracted by other stuff.
The resulting red chile sauce is slightly better, but only by a bit. So, if you have an incredibly busy schedule, just use the soaking method. Simmered chile might be a bit better than soaked chile. But soaked chile is better than no chile.
Optional Ingredients for Red Chile Sauce
Tomatoes
I found a few optional ingredients while researching sauces. By far the most common “extra” ingredient was tomato puree. A lot of recipes substitute a portion of the water for some tomato puree. I was suspicious, but it was so common I felt the need to test it.
In the future, I’ll never use it again.
The end result tasted fine, but it wasn’t a proper red chile sauce.sty It felt confused. It couldn’t decide whether it wanted to be a red chile sauce or a pasta sauce.
I can make a better chile sauce and a better pasta sauce. This was an unnecessary mixture of the two. I feel no reason to make a half-assed hybrid of two things when I can make one thing awesome. So I’m not a fan of tomatoes in my red chile sauce.
Vinegar and Sugar
Some recipes used a small amount of vinegar and sugar.
These actually worked quite well to bring out some underlying flavors in the chiles. The sauce ends up a little brighter and a little warmer. But it’s not as spicy or smokey. I’ll probably use these again. Whether or not you use vinegar and sugar is solely based on your personal tastes. They definitely have a place in the sauce, but they’re not a necessary ingredient for me.
Red Chile Powder
Finally, some sauces use a bit of red chile powder. I think this is a great idea, but only in small amounts. Using red chile powder boosts the chile flavor without messing up your flavor balance.
The primary downside here is texture. A sauce with red chile powder will eventually become grainy. If you go overboard, it might taste like you made it on a sandy beach.
So, while a tablespoon here and there can be great, too much will ruin the texture. Use it sparingly.
Finishing the Sauce
After you soften the chiles, it’s time to blend it all together. You just pour all the ingredients into a blender and puree for a few seconds. If you have an immersion blender, this could also be a good time to use that. Just be careful of splatter. Chile stains are next to impossible to remove.
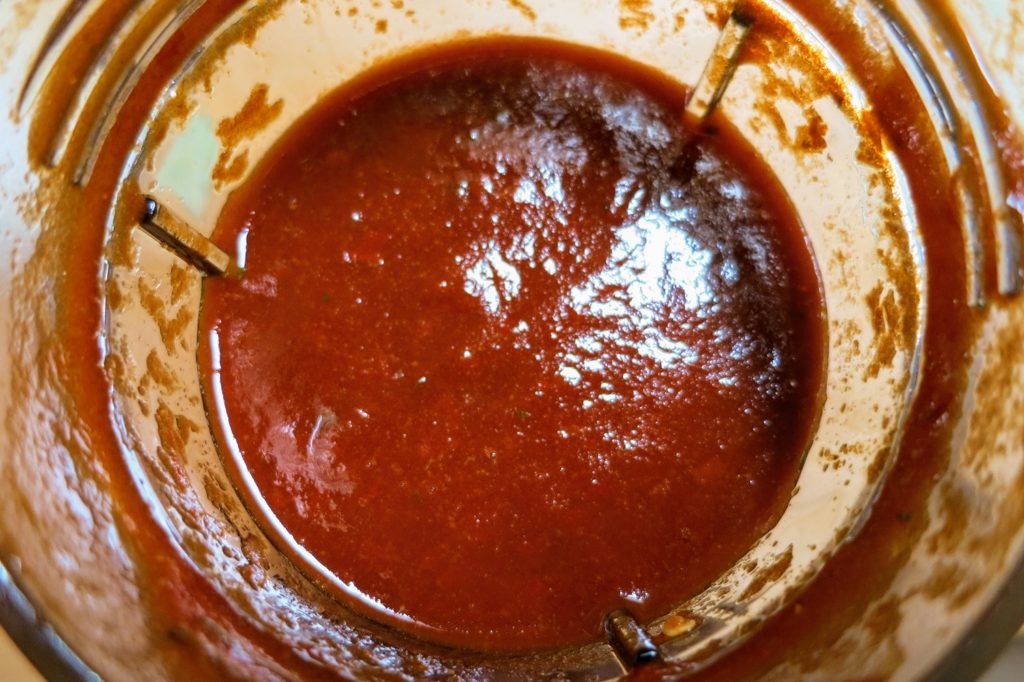
Just blend until it reaches a really smooth consistency. It should take less than a minute, depending on your blender.
Super easy.
One More Thing
Quite a few recipes take this finished sauce and thicken it with a roux.
This is a pretty easy process. First, you add 2 Tbsp of oil to a pan and add 2 Tbsp of flour. Then you stir and cook this mixture on medium for about a minute. Once you’ve made your roux, you add the chile sauce to the roux and cook for a couple minutes until it starts to thicken.
I found this a waste of my time. Sure, it made a slightly smoother, thicker sauce. But it also muted the flavor, took more time, and created more dishes to wash.
If the texture is your primary concern and you don’t mind dishes, then consider this step. If the flavor is your primary concern and you don’t mind a slightly thinner sauce, I’d skip it.
Serving and Diet
After making a few different sauces and blind-tasting all of them, I’ve found my ideal sauce. As a rare bonus, the easiest methods seem to make the best sauce.
You don’t need any fancy ingredients or extra steps. All you have to do is cook chiles, water, and couple flavorings. Then blend until smooth.
It takes about 15 minutes of actual work and you have an awesome sauce that would make any New Mexican happy. Now you just have to pour it over a plate of huevos rancheros or spoon it into a bowl of Christmas Eve Posole.
This recipe also scales and freezes really well. I tend to make a bunch and freeze it in 1 cup servings. Then I can defrost as needed. If I want some red chile sauce for breakfast, I just put one in the sink before going to bed. Then reheat it for a few minutes on the stove or a few seconds in the microwave. Boom. Red chile sauce.
Just be aware that any plastic storage container will be pink forever. It will still work fine, but it will be pink.
As far as diet, this works with pretty much everything. It’s inherently low-fat, but it’s also low in carbohydrates. So it’s Slow Carb too. If you don’t use the sugar, you can easily add some oil and it becomes ketogenic. Or serve it over something fatty and the meal is keto. No matter what your diet preferences, you can eat this.
Make this sauce. It’s for anybody who wants an amazing red chile sauce, but especially my fellow New Mexicans who now live elsewhere. Red chile sauce can be as simple as it is delicious. You don’t have to go to Weck’s to get it. You can make it at home, from across the world.
Red Chile Sauce Using Whole Pods
Ingredients
- 1.5 cups water
- 10 whole red chiles stems and seeds removed, see note*
- 2 cloves garlic
- 1/4 medium onion
- 1 whole bay leaf
- 1/4 teaspoon ground cumin toast whole seeds for 30 seconds and grind it yourself for better flavor
- 1 teaspoon dried oregano
- 1/2 teaspoon garlic powder
- 1/2 teaspoon salt
- 1/4 teaspoon black pepper freshly ground
- 1 teaspoon apple cider vinegar (optional)
- 1 teaspoon sugar (optional)
- 2 Tablespoons red chile powder (optional)
Instructions
Method 1: Boiling
- Add the water to a small saucepan and bring it to a boil. While the water is coming to a boil, remove the stems from the chiles and shake out the seeds. Then roughly chop the garlic.
- Once the water has reached a boil, add the chiles, onion, garlic, and bay leaf. Reduce to a bare simmer and cover with a lid. Cook for 20 minutes.
- Once everything is nice and soft, remove the bay leaf and add the rest of the ingredients. Blend everything into a smooth puree.
- Use while hot or let cool and then freeze individual portions in heavy-duty freezer bags.
Method 2: Soaking
- Add the water to a small saucepan and bring it to a boil. While the water is coming to a boil, remove the stems from the chiles and shake out the seeds. Then roughly chop the garlic to expose the center.
- Pour the hot water over the ingredients and let it sit for at least 20 minutes while you do something else. I'll often set everything to soak in the morning and then do the rest when I get home from work.
- Once the chiles are soft, remove the bay leaf and add the rest of the ingredients. Blend everything into a smooth puree.
- Use while hot or let cool and then freeze individual portions.

